Updated 6/10/24
I’ve been fascinated with art my entire life. My mother was an artist, my father would doodle occasionally to impress my mother, and I loved to draw and paint as a child. I also have several artistically talented coworkers that continue to inspire me on a daily basis.
So naturally, when I stumbled across this new method of painting, I couldn’t wait to experiment. However, it wasn’t until my fifth or sixth failed attempt at creating a masterpiece that I realized that I needed to research ways to get the effect that I was hoping for. To my surprise, there is a lot of science, technology, engineering, and math involved with this style of art.
What Exactly Is a Pour Painting?
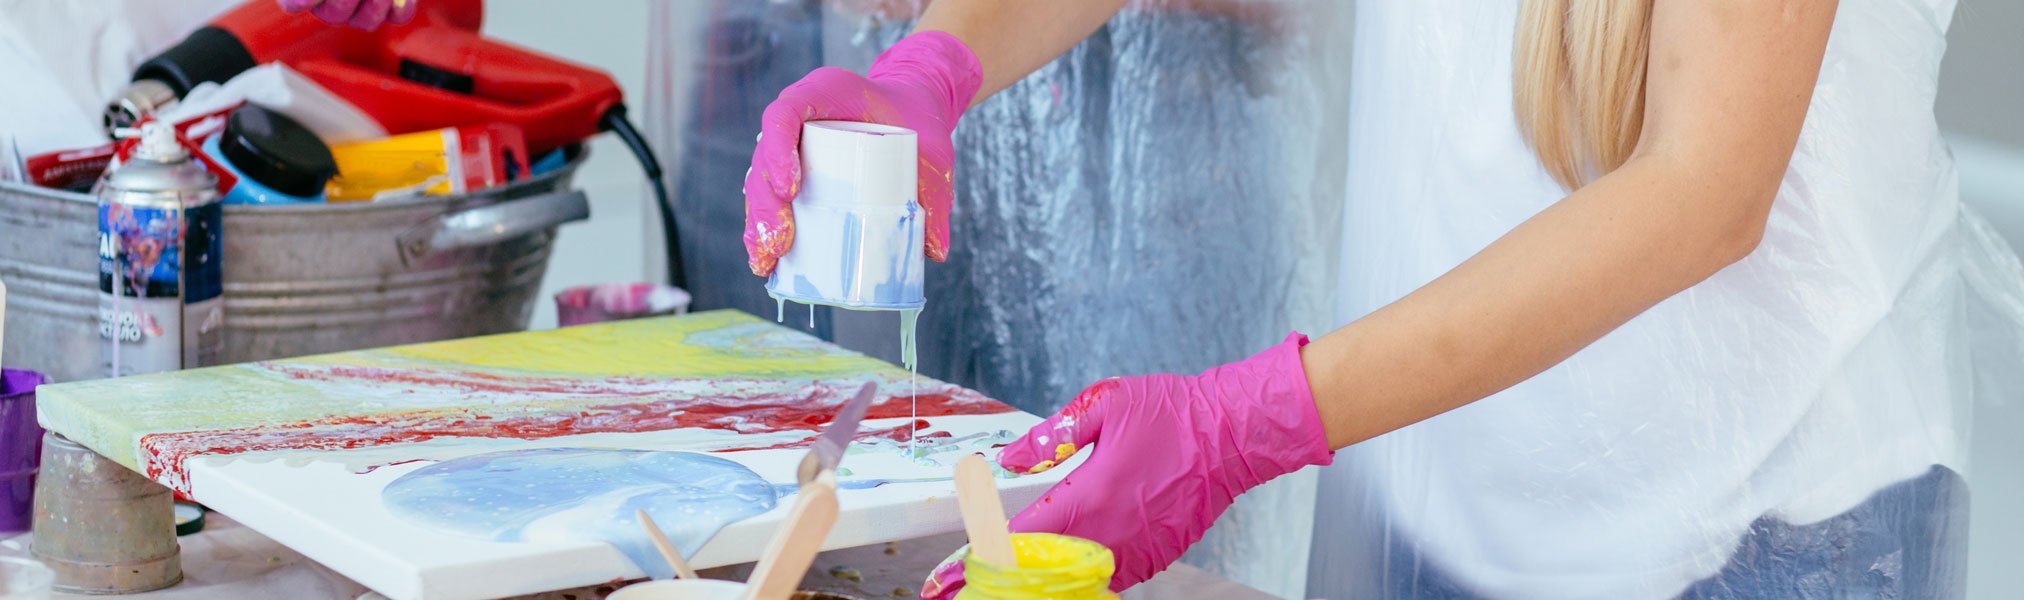
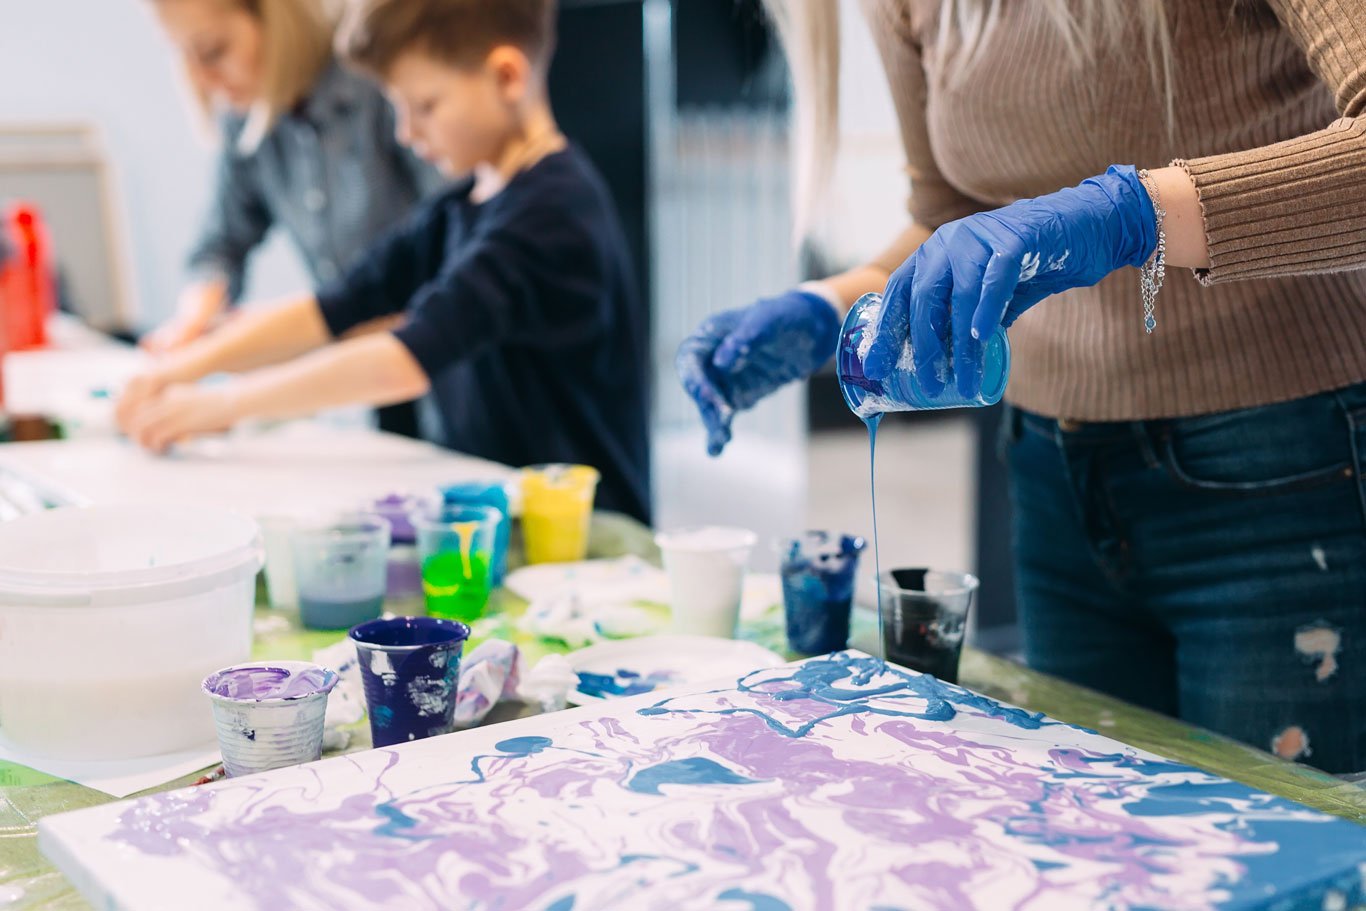
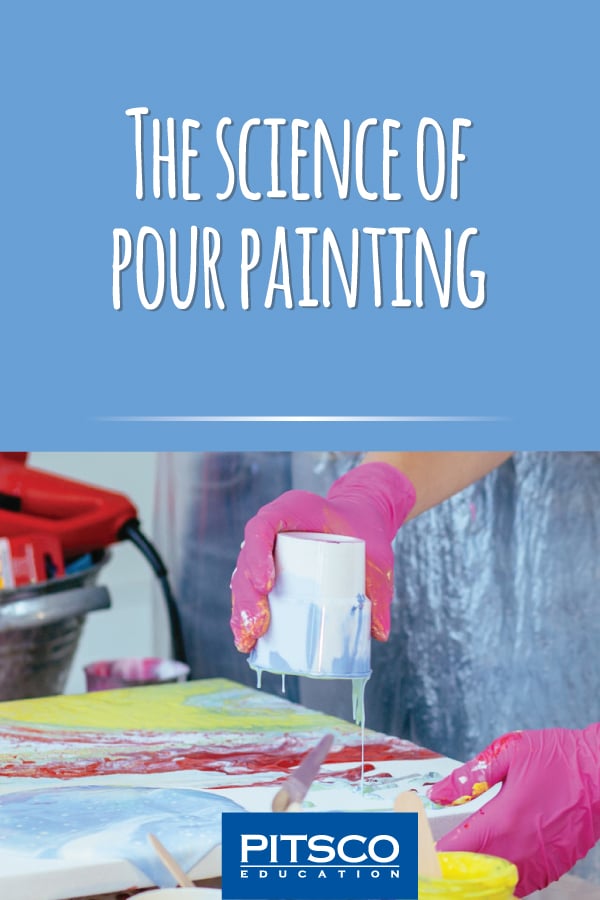
Well, it’s as simple as it sounds. Pour painting, or fluid art, is a technique used to create paintings by pouring paint onto a canvas rather than meticulously painting a subject.
Although paint pouring seems to be trending in the art world, it’s not exactly a new technique. This style of painting was discovered by accident in the 1930s by a famous muralist by the name of David Alfaro Siqueiros. Siqueiros was so fascinated by the complexity and beauty of the happy accident and the fact that it required very little effort, he became curious about the science behind it.
What Sort of Chemicals Are Inside Paint?
When you discuss paint with your students, it’s helpful to understand what ingredients are in the paint itself and how they can interact with other elements. Paint in its simplest form is a pigment, or color, mixed with a liquid in order to make it spread across your canvas, but technically there’s a bit more to it. Most paints have three main components: pigment, binders, and solvents. Typically in fluid art, additional additives affect the paint’s properties and how you plan to use them.
Pigment
The pigment is the color chemical in a paint. It looks like a certain color because it emits different wavelengths of light. Did you know that the color red has the longest wavelength in the color spectrum of visible light and that violet has the shortest? These wavelengths, along with the wavelengths in between, create the ROYGBIV colors that we often see during a light rain shower. Back on the ground, metal compounds are used to create different pigments for paint. Metals like iron oxide, chromium oxide, and carbon are just a few elements used to make a basic color spectrum. Other pigments are derived from plant matter such as flowers or resins. Even white paint needs pigment. A popular shade of white often used in painting called titanium white is made with titanium dioxide pigment.
Binders
Pigments can’t be used solely by themselves to create a painting. They’re typically a solid that wouldn’t spread easily or stick to a canvas. Pigments are added to a binder, or a glue-like substance, that enables the pigment particles to stick together on the surface you’re painting. Some binders are made from linseed oil or synthetic plastics.
Solvents
When you mix the pigment and binder together, the combination creates a thick substance that’s somewhat difficult to spread – it’s similar to the consistency of rubber cement. This is why the addition of a solvent is necessary to create paint. The solvent acts as a thinner for the pigment-and-binder mixture, making it less viscous and letting the paint spread easily over your surface. The solvent will eventually evaporate, allowing your paint to dry.
Other additives
In pour painting, paints are often mixed with a pouring medium to further thin the paint, enabling it to be poured onto the canvas. For an added effect, liquid silicone mixed with paint and the pouring medium can create the cells looking spots that you see in the following image. 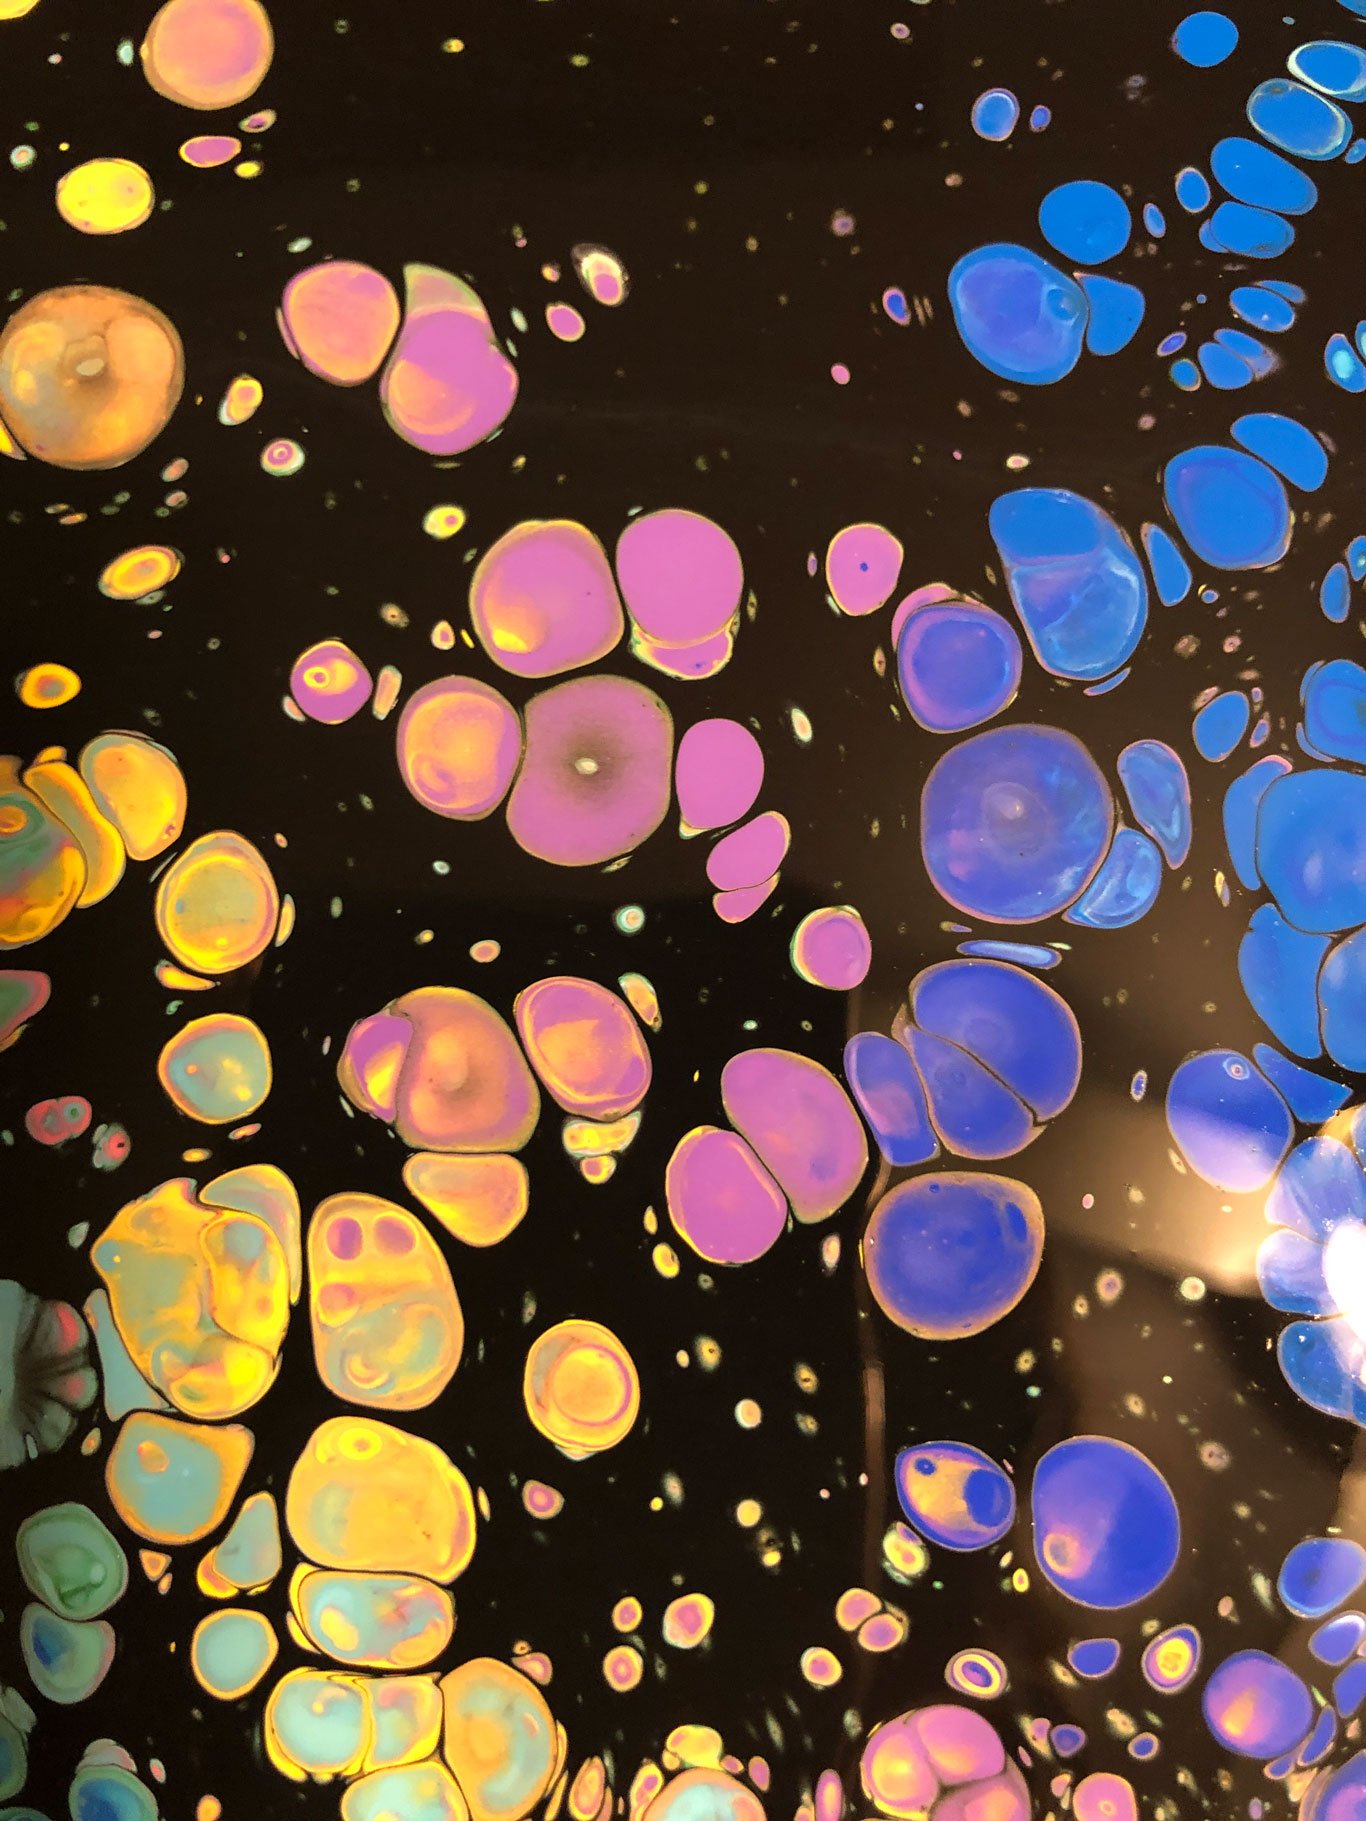 When the combined paint mixtures are poured onto the canvas, the oily silicone rises to the surface, creating holes to reveal the paint layer underneath. Water can also be used as a solvent or thinner. Acrylic craft paint is water soluble and can thin down your paint if it is still too thick for pouring.
Fluid Dynamics
Earlier, we discussed how pigment is made of different metals or matter. These materials all have a specific weight and density that cause them to react differently with each other. For example, in a mixture of cadmium red and titanium white, the red has a lighter density, so it would rise to the top while the white would sink to the bottom. Depending on the viscosity of your pigments, they’ll move, mix, rise, or sink on your canvas, creating a unique flowing pattern. Another name for this battle between densities is called the Rayleigh-Taylor instability. “When a fluid rests atop another fluid with less density, this instability arises. Consequently, the less dense fluid underneath starts moving upward, mixing with the denser fluid.”
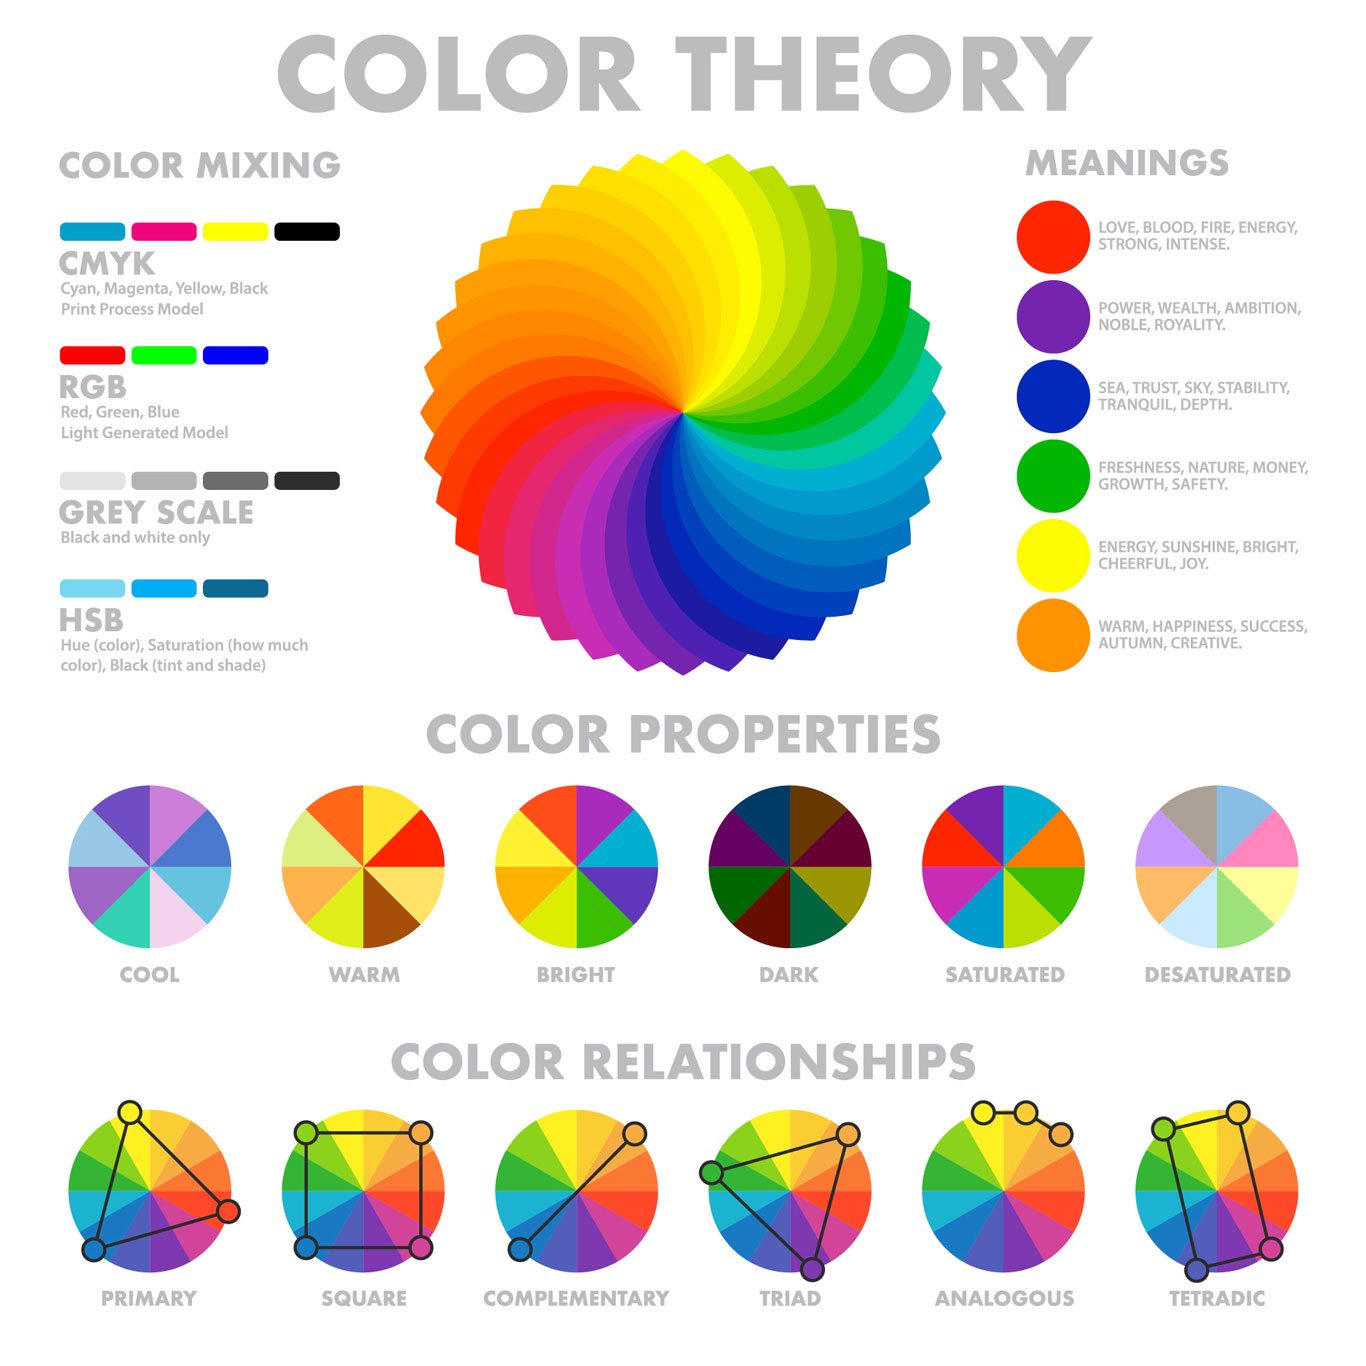
Color Theory
We learn about the color wheel at a young age. Primary colors: red, yellow, and blue; secondary colors: orange, green, and purple; and tertiary colors: red-orange, yellow-orange, yellow-green, blue-green, blue-violet, and red-violet. This is how most artists choose an appealing color scheme for their paintings. Some colors create feelings of power, intensity, happiness, and sometimes even hunger! It’s also fun to mix two or three colors to create a brand-new color!
Moon Phase Pour Paintings
After experimenting with some metallic paints, I loved how in the end, my canvas looked like the surface of the Moon. I quickly bought out our local Walmart’s stock of precut wood circles and rushed home to continue pouring. Using my personal plotter (Cricut), I cut out the shapes of the Moon phases on removable vinyl. I applied the vinyl to my prepped wood circles and then poured my metallic paints in the negative area of the vinyl and allowed it to dry overnight. The poured paint created the crescent moon shape seen in the following image.


Full STEAM Ahead with Your Student Artists
Now, after knowledge has been spilled and students have created their artwork, it’s important to follow up the process. Display their work! Creating a gallery provides the opportunity for others to see the work and ask questions to learn more about the process. What a great opportunity to practice communication and presentation skills. This also affords a natural time for reflection and possible improvement or innovation for the students’ next work. Plus, displaying their work helps foster greater confidence.
Okay, whew, that was a lot of information. The one thing we know for sure: creating is both a science and an art. And, it can be fun and impactful too!
MORE RESOURCES:
- Acrylic Painting
- The Secrets of Paint Pouring Revealed
- Paint
- David Alfaro Siqueiros biography
- A waxy painting project for your classroom
TOPICS: IN THE CLASSROOM, IDEAS & INSPIRATION, Science, STEM, Resources, Activities, Hands-on Learning, STEAM, Math, Art, Women in STEM