Updated 6/10/24
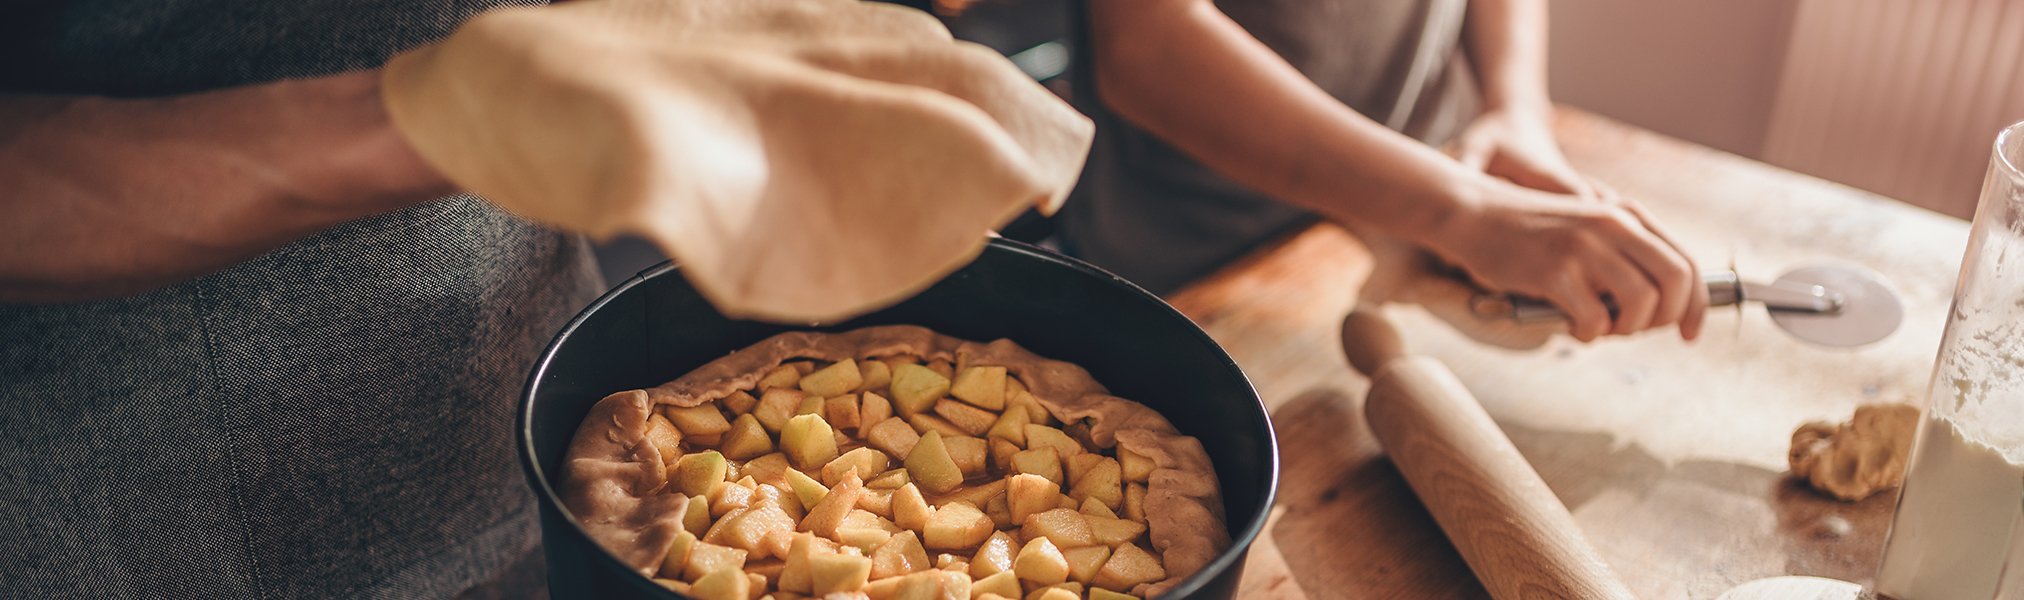
Pie! It’s my favorite dessert to eat, and, as an amateur baker, it’s my favorite dessert to make from scratch. Nothing is more comforting than the scent of an apple pie baking in the oven, especially on a cool, cozy day!
I hear January 23 is National Pie Day – not to be confused with math-centered National Pi Day on March 14. No sir, this day is focused solely on America’s favorite versatile dish. Sweet or savory, fruity or meaty, a pie provides all the beautiful textures the mouth craves – from the flaky, tender, crispy crust to the full-bodied filling.
You can learn a lot about the history and background of National Pie Day by visiting NationalToday.com/National-Pie-Day, which is chock-full of fun facts. Today, though, I want to focus on the science of pie; specifically, the science of pie crust.
So, is making pie dough truly as easy as pie? A lot of people would argue “no.” Many bakers are intimidated by pie dough, citing that it’s too sticky, turns out too tough, or doesn’t have the desirable flaky texture. Despite having only three main ingredients (flour, water, and fat), pie dough can seem like this mystical, unachievable food.
The issue here is most of us want the perfect pie crust on the first try, but, as with any skill, practice makes perfect. Let’s isolate some variables that affect pie dough.
Dough Temperature
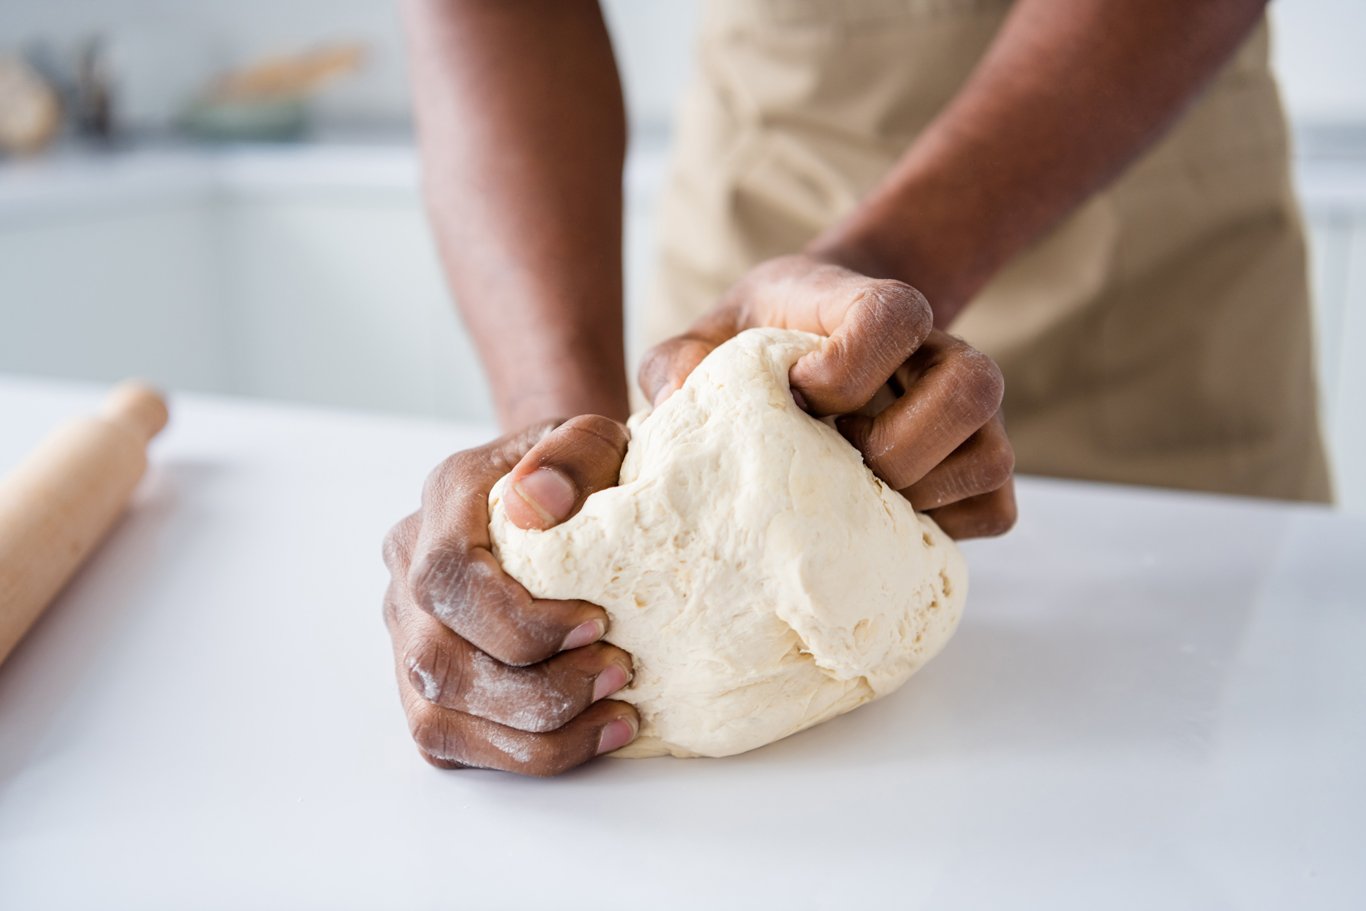 First, the ingredients NEED to be cold. It seems like this is the main issue when making pie dough; it’s easy for the ingredients to come to room temperature, especially if you’re mixing it with your hands.
As I mentioned earlier, dough has only three base ingredients: flour, water, and fat (my preference is butter, but lard is also common). When water and flour mix along with some warmth, gluten develops. Gluten is what makes bread soft and stretchy – it’s desirable in bread, but not in pie dough. Rather, pie dough should be flaky and tender!
So, it’s important to use cold butter and ice water with your flour, as the coldness interrupts gluten development. Try to not handle the dough too much when mixing. Some people use a stand mixer, food processor, or two forks or knives to “cut” the butter into the flour, but I use my fingertips and just work quickly. If the butter starts to feel soft, I toss the whole bowl into the freezer for a few minutes to let it firm back up.
Butter Slab Size
 Speaking of butter, size matters! When mixing your dough, the goal is to end up with solid pockets of butter in the dough, not to entirely incorporate it. On top of that, you want variations in the size of your butter pockets. I’ve found the easiest way to achieve this variation is to just cut your butter into different shapes – if your recipe calls for two sticks of butter, cut one into cubes and another into flat slices or slabs.
These butter pockets not only interrupt gluten formation, but they also contribute to the final flakiness of the pie. The hot temperature of the oven hits those pockets hard, and they steam, expanding and causing the dough to puff up beautifully.
Room Temperature and Humidity
Room temp and humidity are a little harder to control, especially if you’re working in a hot kitchen. Just be aware that if your room is warm, you might have to handle the dough more quickly to keep the ingredients cold. And, if you’re working in a humid environment, your dough will require less water. You need only enough water to hydrate the dough – you’re not trying to saturate it.
It can be tricky to know when you have enough water in your dough. I generally start with just a 1/4 cup and add more if the dough is too crumbly. When the dough can be pressed together and mostly hold, it has enough water.
Stop mixing as soon as the dough comes together. Overworking it can make the final product tough.
Dough Chillness
 After you’ve assembled your dough, it needs to rest in the fridge for at least 30 minutes (or preferably two hours or more). You can also freeze it for up to six months. This allows the flour to finish hydrating (it was probably a little crumbly when you put it in the fridge, but it won’t be when you pull it out), the fat to firm up, and the gluten to relax. It’ll be easier to roll out after a nice rest!
Baking Dish Type
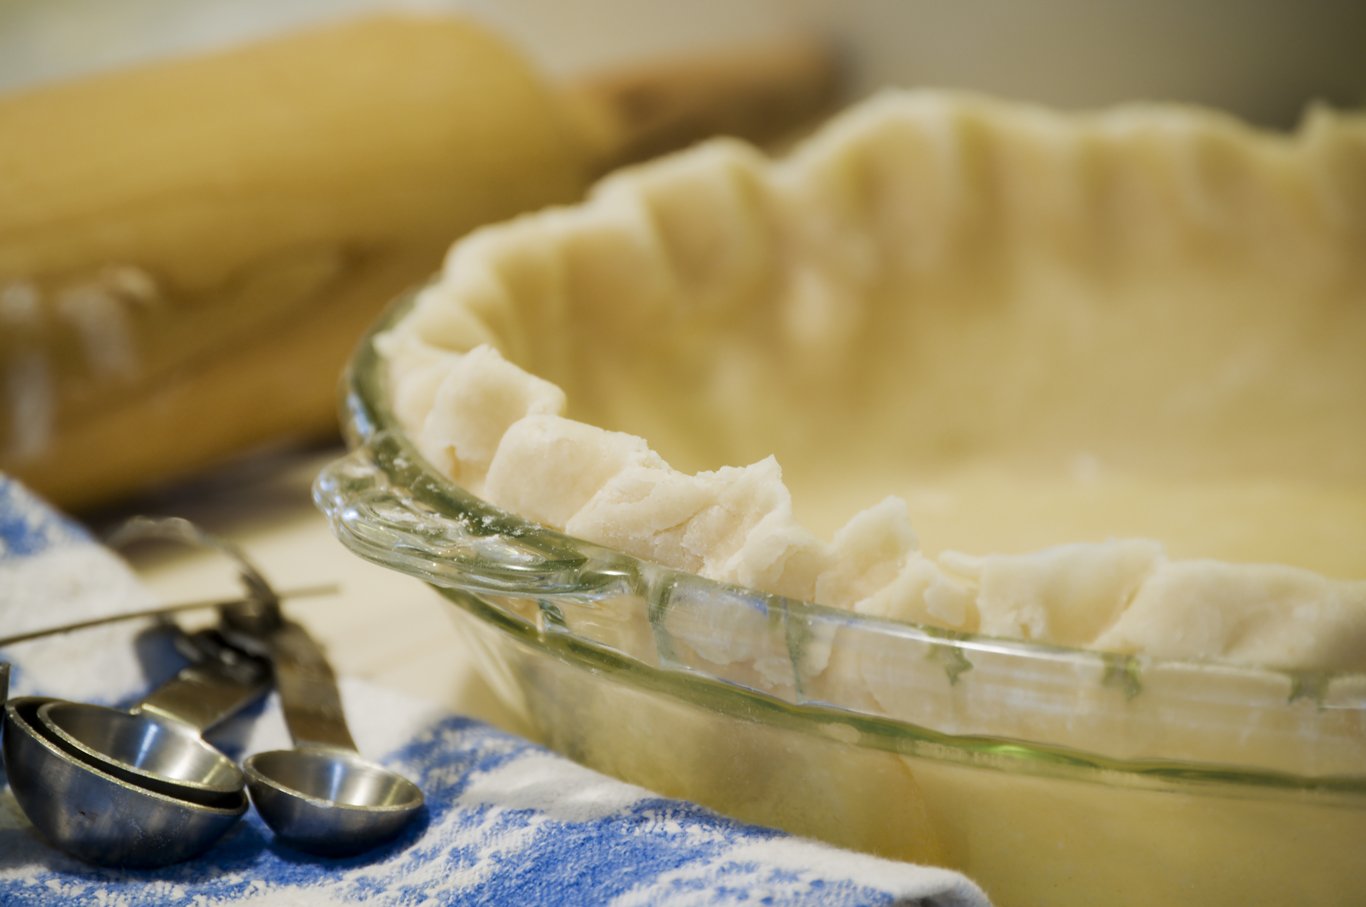
There are three types of baking dishes: glass, metal, or ceramic. Martha Stewart’s website explains the differences between the three types better than I can, but here’s the gist.
Glass is my preferred pie plate because it holds heat evenly and consistently. Plus, you can visibly see the browning and doneness of the dough through its sides and bottom!
 Unlike glass, metal heats up quickly, which can cause browning and doneness around the pie’s outside before the middle is ready. This can be a good thing though, if that’s what you’re going for!
If you find the crust is browning too quickly, wrap bits of aluminum foil around the edge. This will deflect the intensity of the heat and keep the pie from burning.
Final Thoughts
As I said before, with anything, practice makes perfect! There’s definitely a science to baking, but there’s no reason to fear making pie dough. After all, you can still eat the failures. (And even failures can be tasty, which is all that matters!)
Do you have any tips for baking pies? Let us know in the comments!
MORE RESOURCES:
- Should You Bake with Glass, Ceramic, or Metal Pie Plates? Consider the Pros and Cons of Each
- I am a dessert person
- Temperature Tips to Picture Perfect Pies
- Hamburgers: Exploring the basics of burgers, grilling, and STEM
- Chocolate-covered learning: Seven STEM activities for kids
- Fizzyology: Researching the root beer float

TOPICS: BEYOND THE CLASSROOM, STEM, Activities, Hands-on Learning, Physics, Inquiry-based Learning