Updated 6/18/24
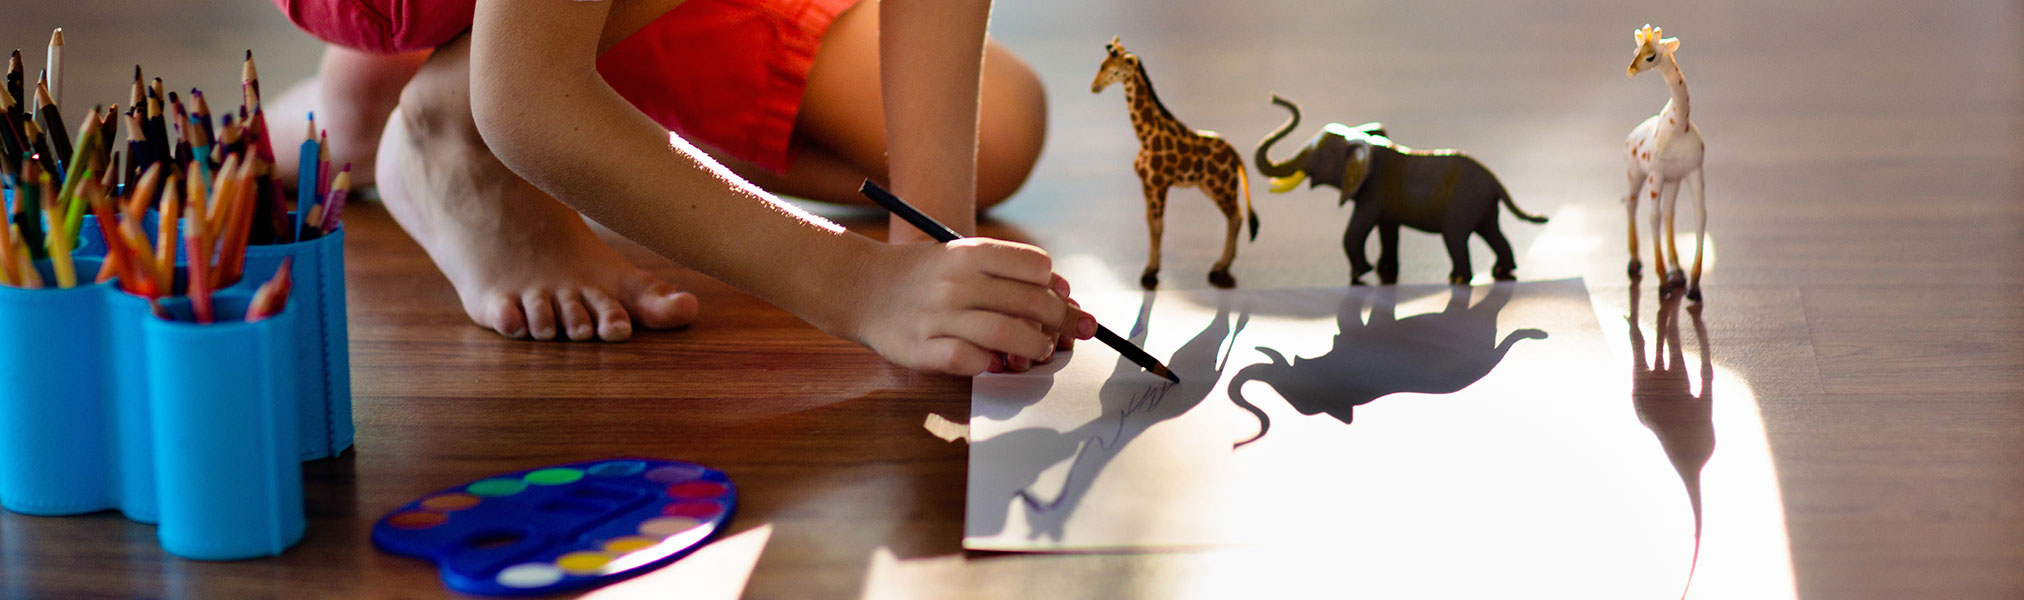
I’m writing this while sitting in a coffee shop at a table near the door. Every time a new customer enters, I’m hit with a swirl of arctic air that chills me to the core. For me, that prognosticating groundhog can’t come out of his den soon enough.
Is there actually a correlation between groundhog shadows and the quantity of winter days remaining? Well, no, at least not according to those who have studied the question. But that doesn’t mean there is no science whatsoever in the question. The hidden assumptions are that a clear shadow follow clear skies and that clear skies predict more winter.
The problem must lie in the second assumption because the first is true. The Sun in a clear sky does lead to clear, crisp shadows. But why? And more importantly, how are we going to turn this into not one but two STEAM activities?
I find light and its dark companion, shadow, very interesting. Actually, I’m so inspired that I’m going to get out of this icebox and back to somewhere warm so I can start experimenting with light and shadow!
Activity 1: The nature of shadow
I’m not waiting to find out what happens in Punxsutawney. I’m taking matters into my own hands. Join me as I make a clay groundhog and simulate various Sun and atmospheric conditions.
Materials:
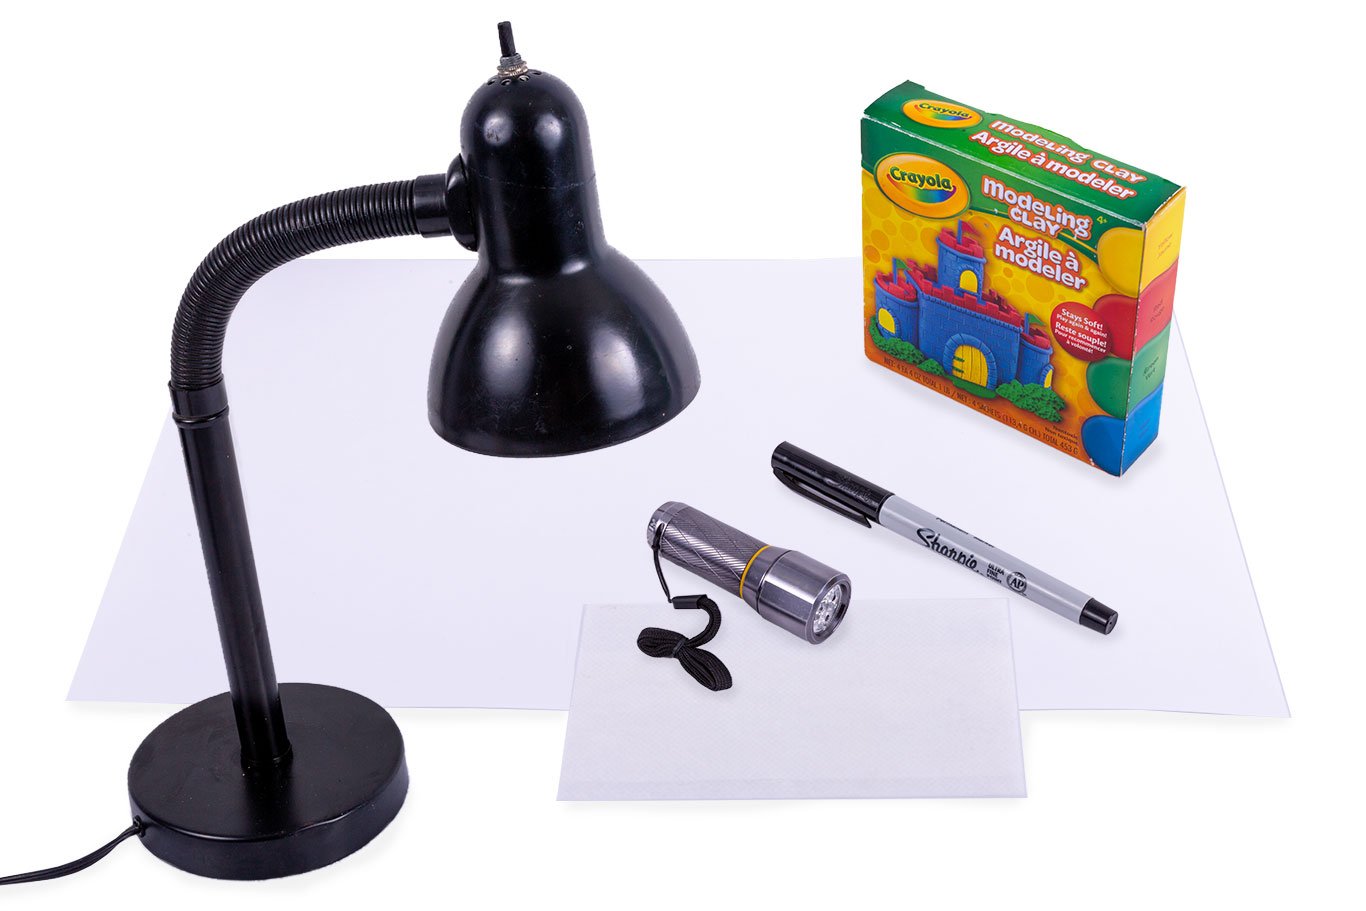
- Clay
- Small flashlight or penlight *
- Lamp
- Dryer sheet or cotton gauze
- Paper
- Pen
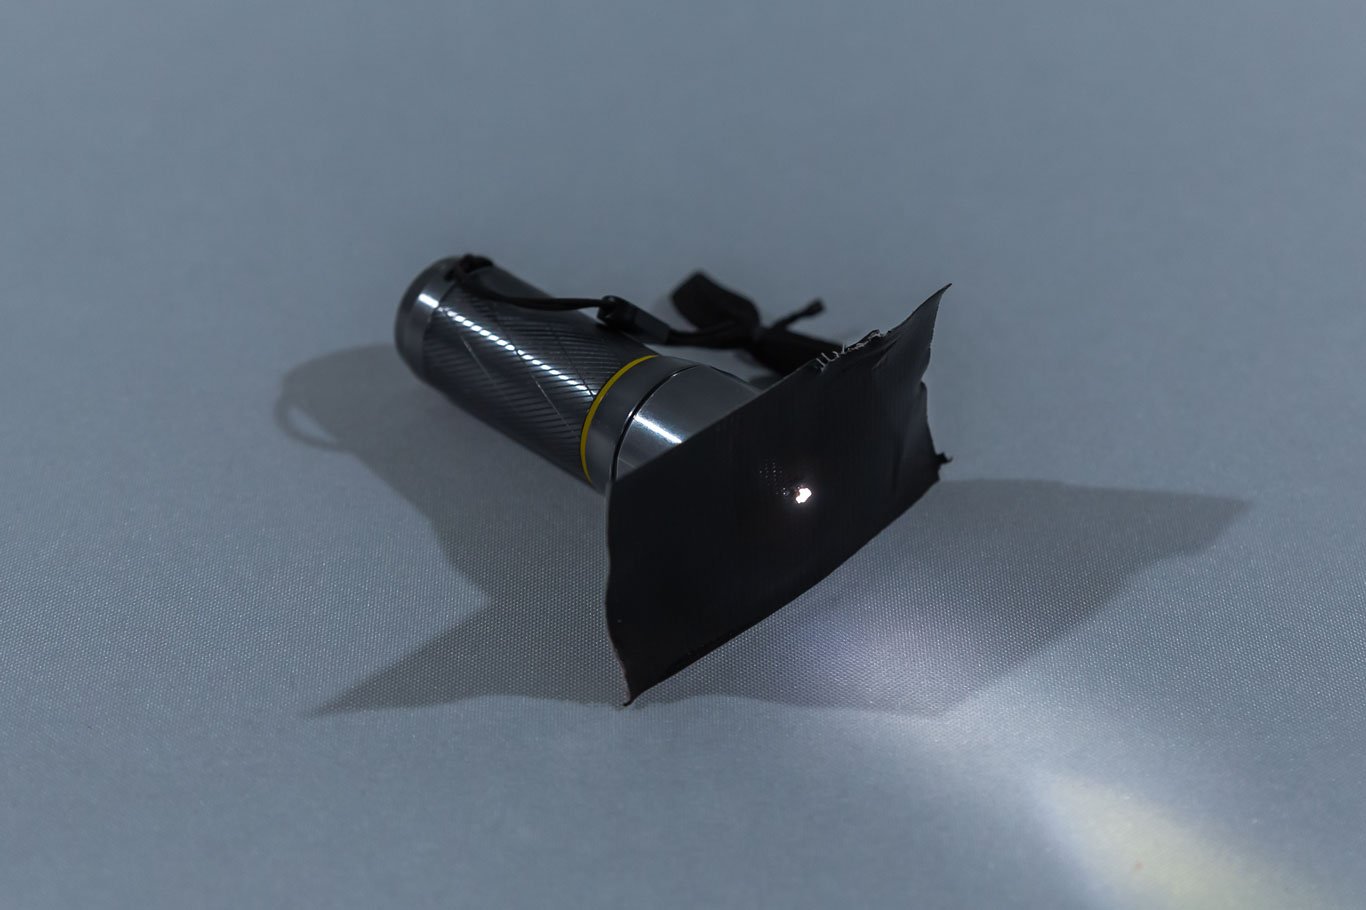
* A single LED bulb is ideal. If your flashlight has multiple bulbs, you can use a piece of black tape with a small hole to narrow the light.
 Concepts:
- Angle
- Diffusion
- Umbra
- Penumbra
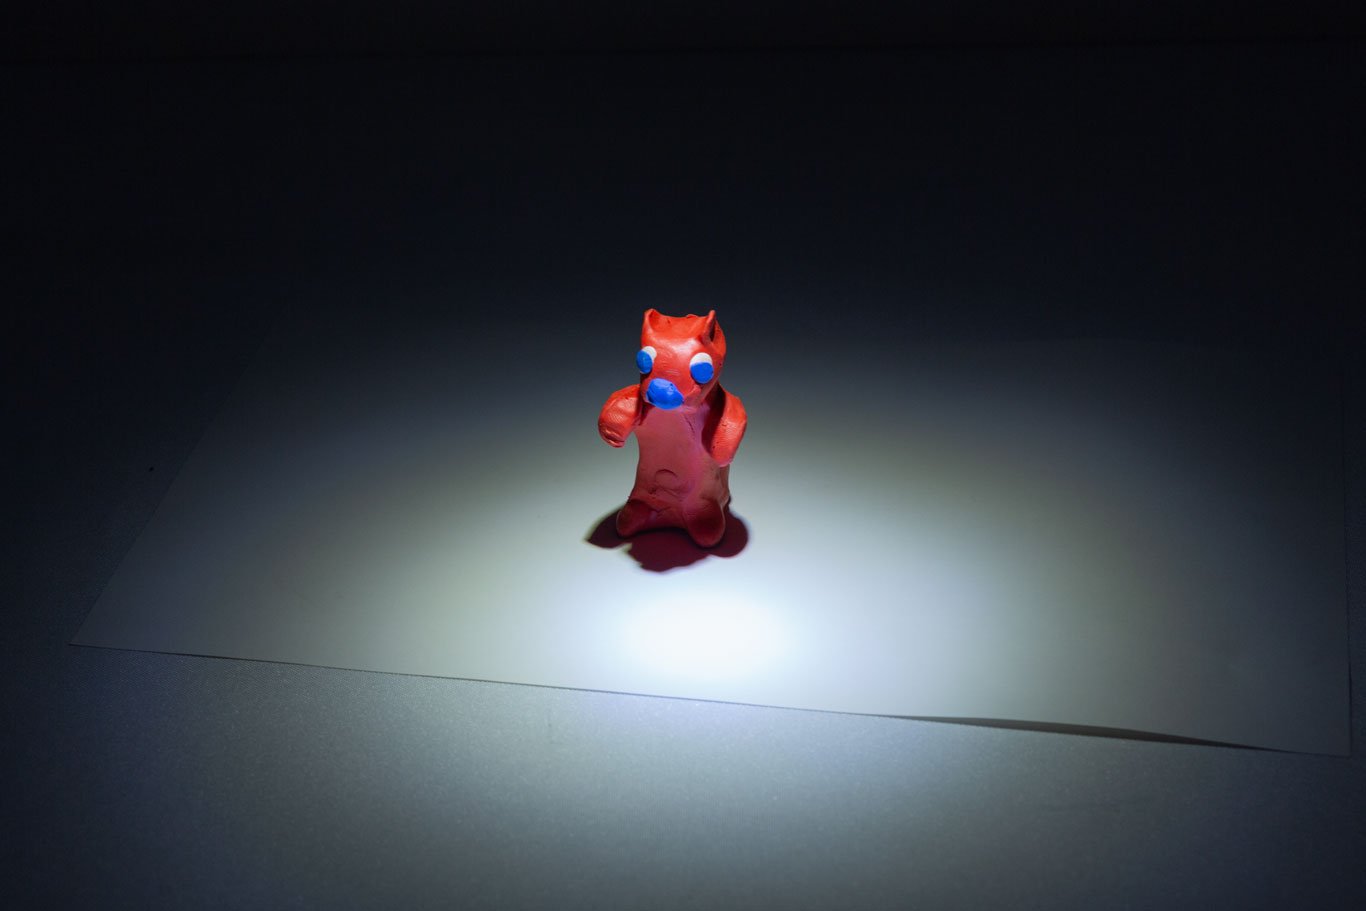
- Make a groundhog out of clay and place it on a sheet of paper.
 Make your groundhog stand up on its hind legs so it can cast a longer shadow. Don’t stress about perfection. A standing groundhog is basically just a tube (the body) with a sphere (the head) sitting on top. Give it eyes and limbs if you like. Also, you should name it. Mine’s named Frank.
 - Use your flashlight to cast a shadow from multiple angles and distances.
 What happens when you shine the light from directly above? Does the shadow get shorter or longer? What about when you put the light closer to the ground? How does this resemble your shadow at morning versus your shadow at high noon?
 - Use your lamp to cast a shadow as well.
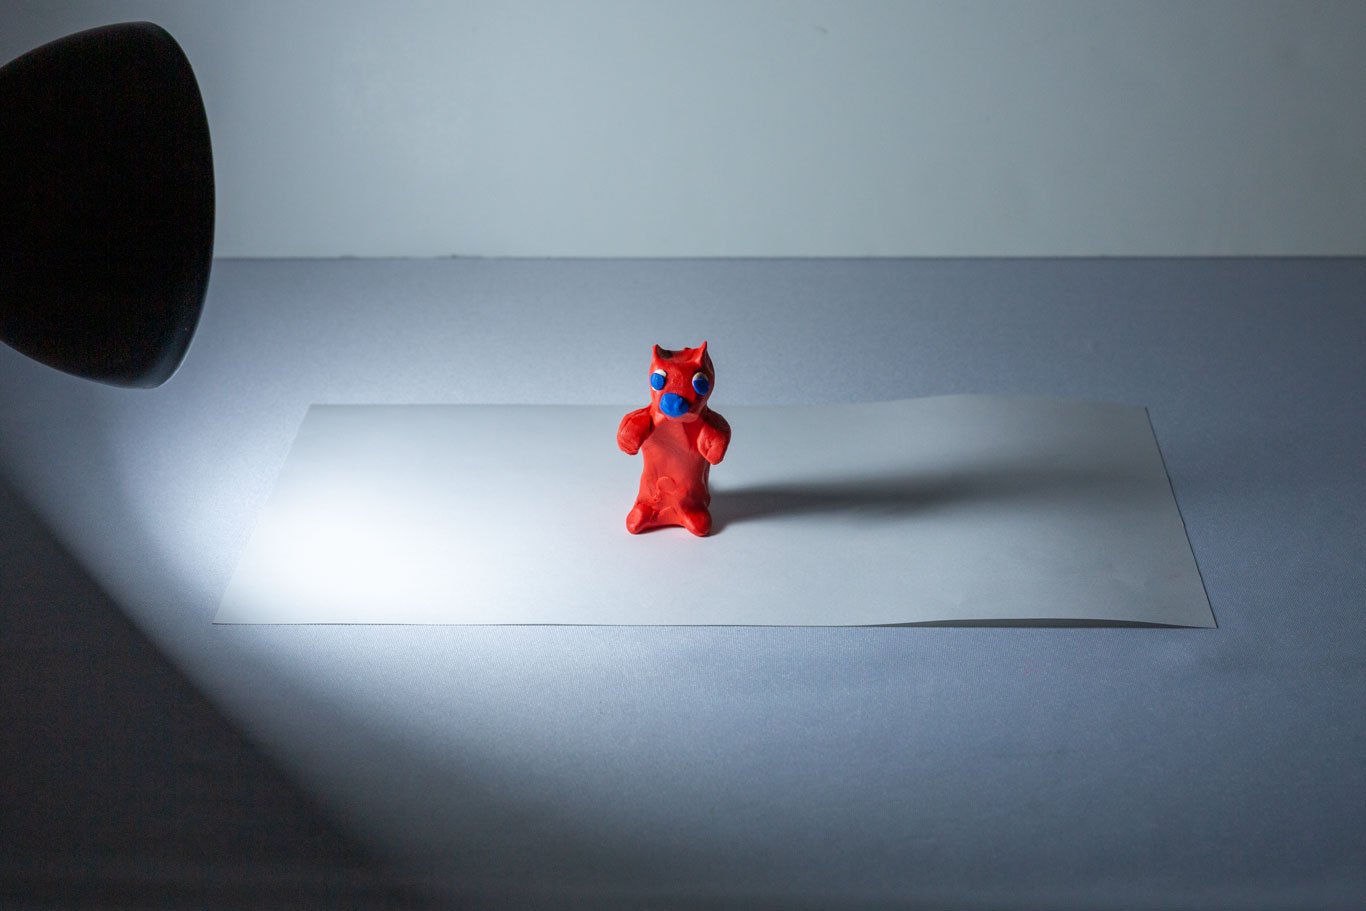 Do you observe any differences between the shadow made with the lamp and the one made with the flashlight? Most likely, the shadow from the flashlight was one solid shade of dark (or nearly so) while the shadow from the lamp has a dark interior and a lighter gray zone around the outside. (If this isn’t the case, try moving the lamp’s bulb closer to the groundhog.)
The dark area is called the umbra. That’s the area where the groundhog’s center blocks all the light. The lighter gray area is called the penumbra. That’s the area around the groundhog’s edge where the light is only partially blocked. - Use the pen to label the umbra and penumbra on the piece of paper.
You might even do this multiple times with different lighting setups to get a better sense of what affects the shadow’s length and its various parts. - Hold the dryer sheet or cotton gauze between the lamp and the groundhog.
 What happens to the shadow? Most likely, it dims or even disappears. This is because the light has been diffused, or scattered. The porous nature of the sheet causes the light to no longer come from a single point, so it no longer creates a sharply defined shadow. Is this like a clear day or a cloudy day?
If this is what the groundhog saw, what would it predict about the winter?
Activity 2: 3-D to 2-D shadow sculpture
No art critic could possibly deny that my groundhog, Frank, is a sculptural masterpiece. But it got me thinking – could I outdo myself using the shadow as my artistic medium? Let’s create a shadow sculpture!
A shadow sculpture uses three-dimensional objects to cast a two-dimensional image in shadow. Here’s the key: you can’t tell what the final image will be when looking at the 3-D object alone. You can only see the image when you shine a light on the object and look at its shadow. If you have ever made shadow animals on the wall with your hands, you’ve made a type of shadow sculpture.
Materials:
- Clay or other building material
- Flashlight or penlight*
- Image of a recognizable silhouette
* A single LED bulb is ideal. If your flashlight has multiple bulbs, you can use a piece of black tape with a small hole to narrow the light.
Concepts:
- 2-D and 3-D
- Angle
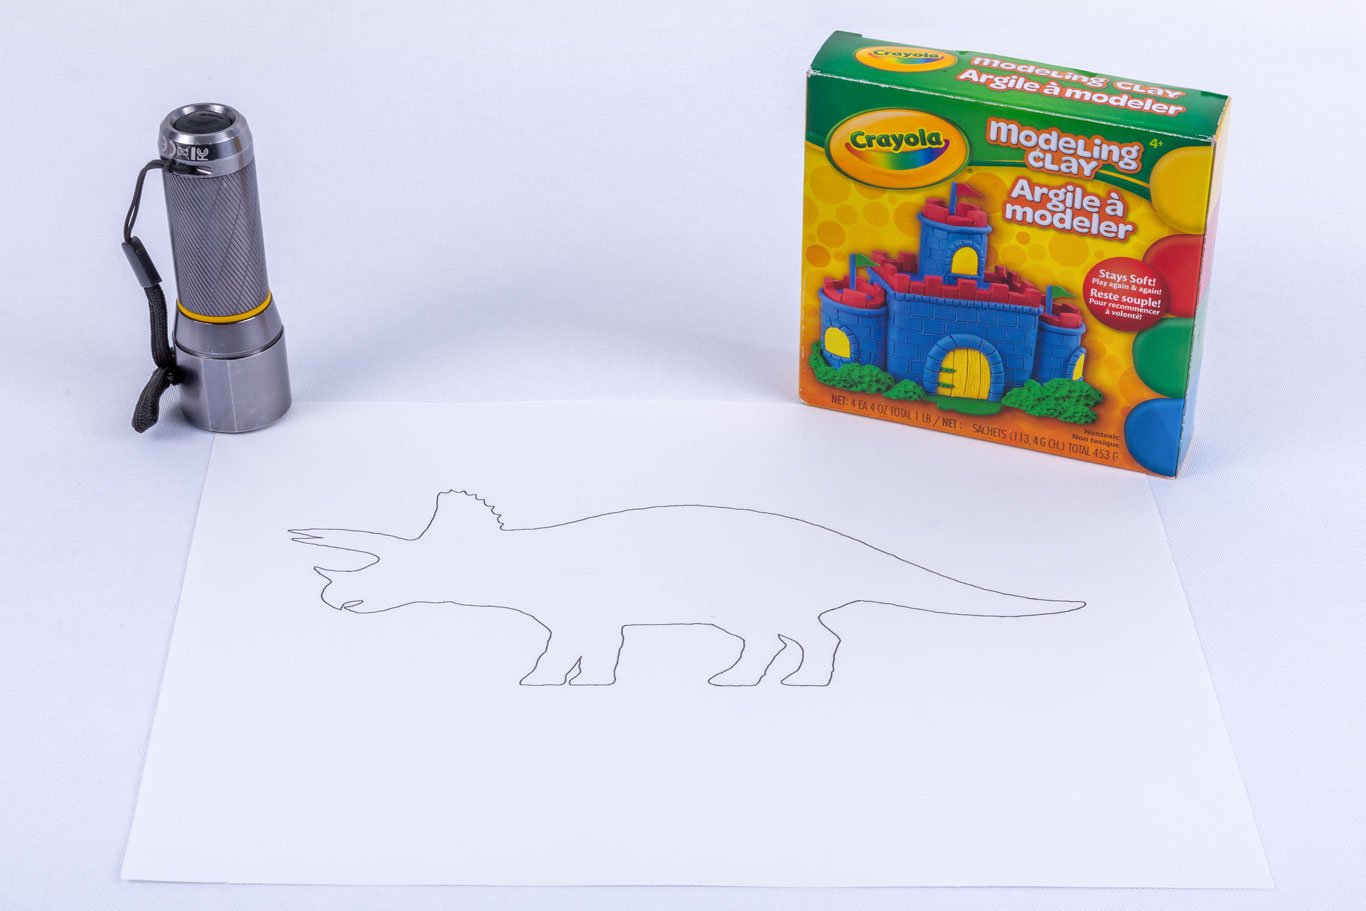
- Gather your silhouette image.
I used a triceratops because I like dinosaurs. It proved a little challenging, so you might be careful to choose something that is clear but without too much fine detail. - Break your image into two or more overlapping sections.
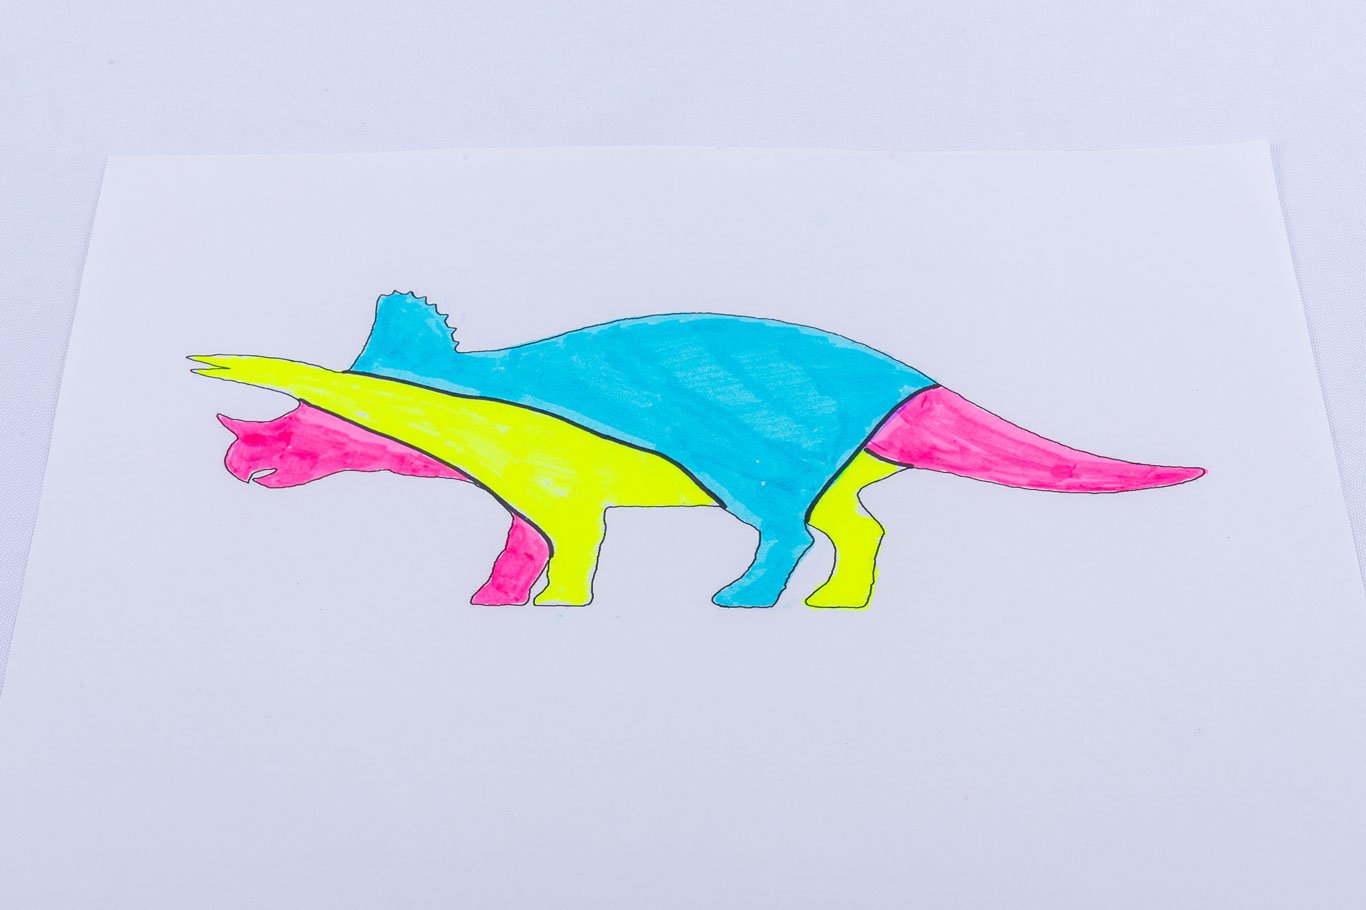 I did three sections. I also color-coded them so I could keep track of the sections as they overlapped.
 - First, make the 2-D sections out of clay.
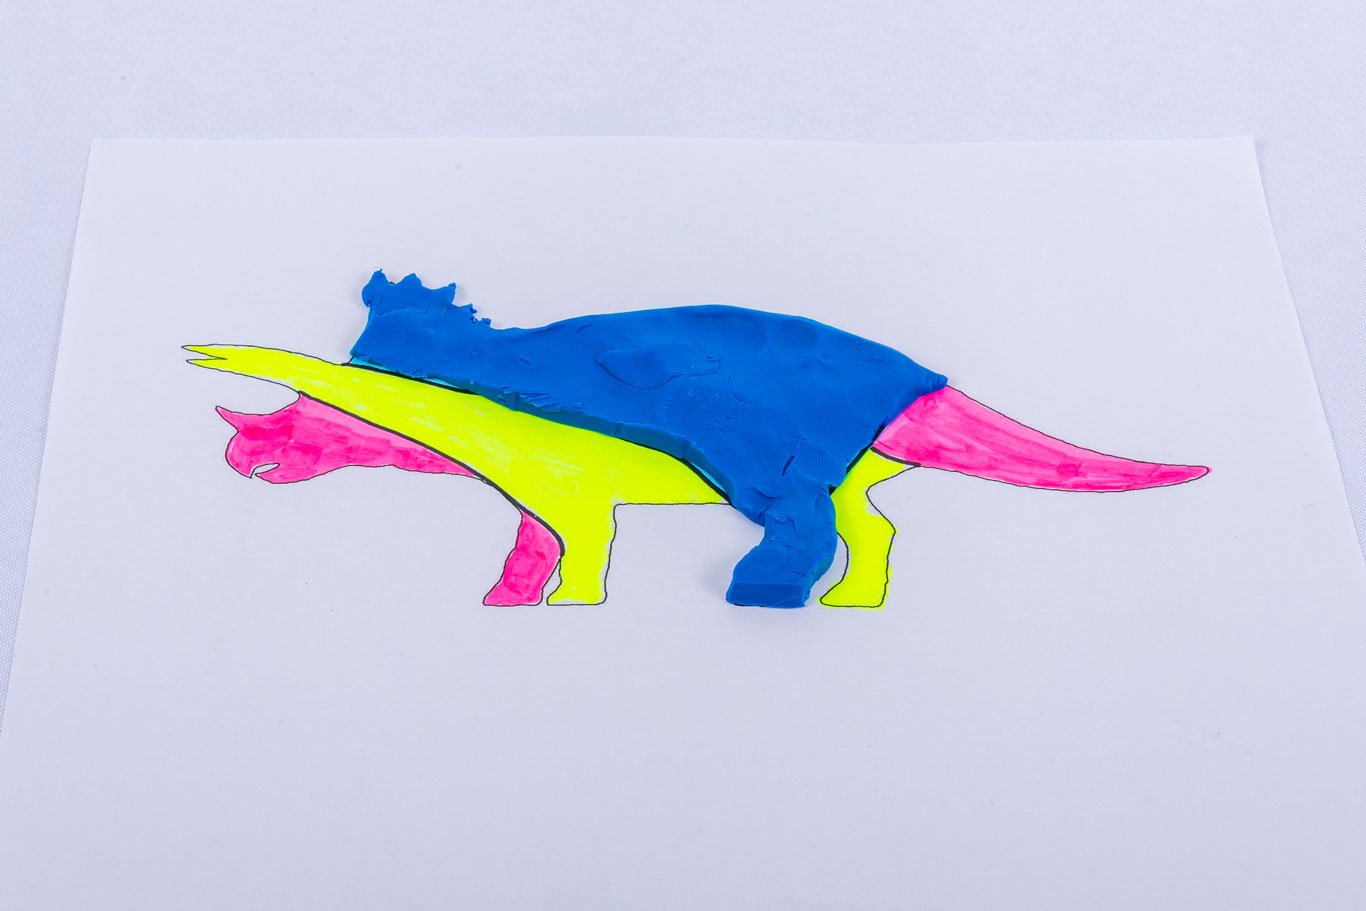 The color coding comes in useful here. Also, be mindful of the relative sizes of your sections. Those that are closer to your light source will naturally project larger than those farther away – even if they are the same size. Don’t overdo it, but make any piece on the back side a touch larger.
 - Add clay to grow each section in three dimensions.
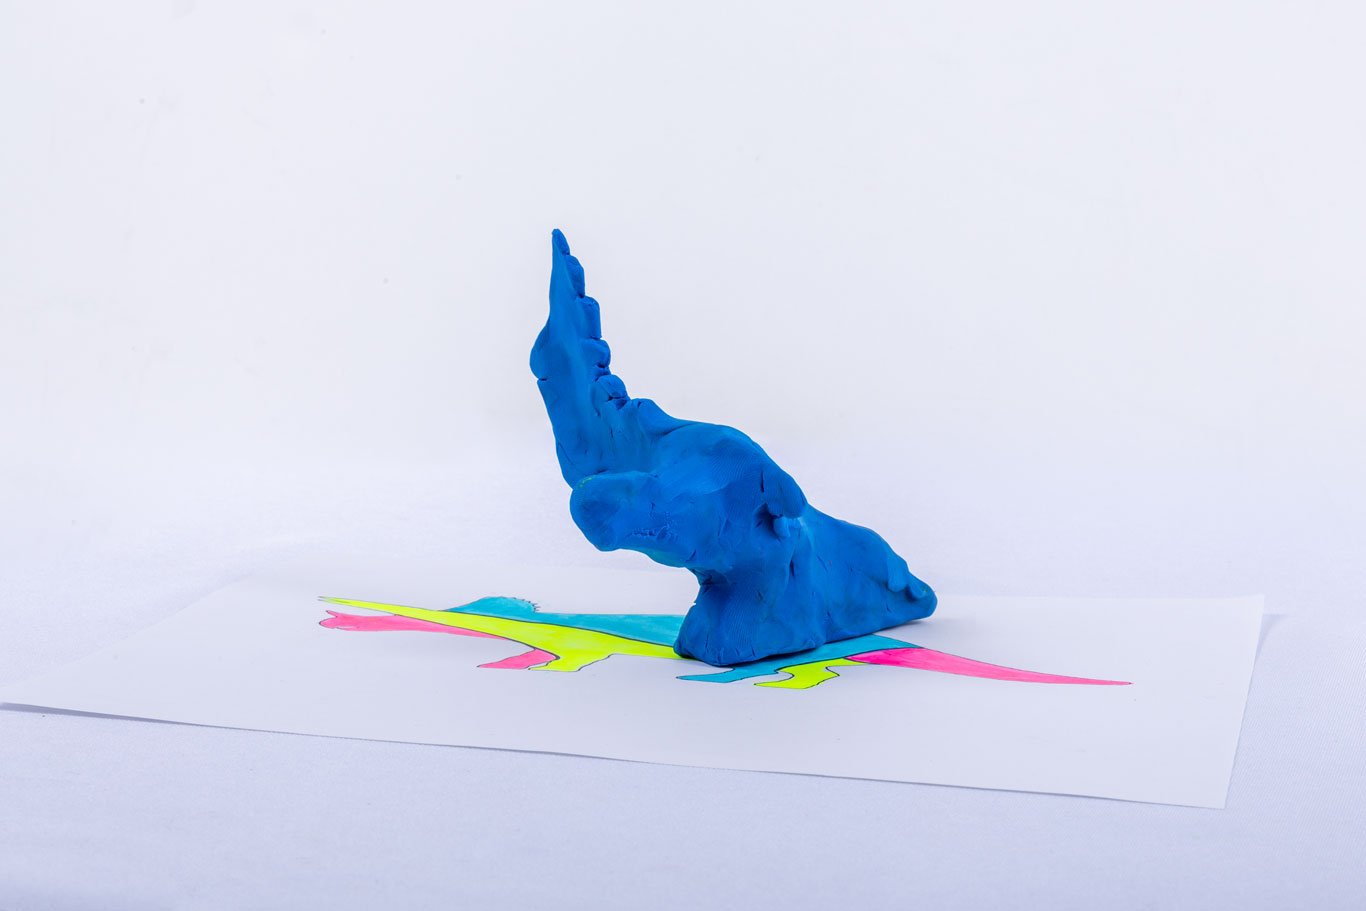
 Add clay on both sides. We want each piece to be as unrecognizable as possible from the way it started. But here is the crucial part: Make sure that you don’t change the silhouette as viewed from dead-on.
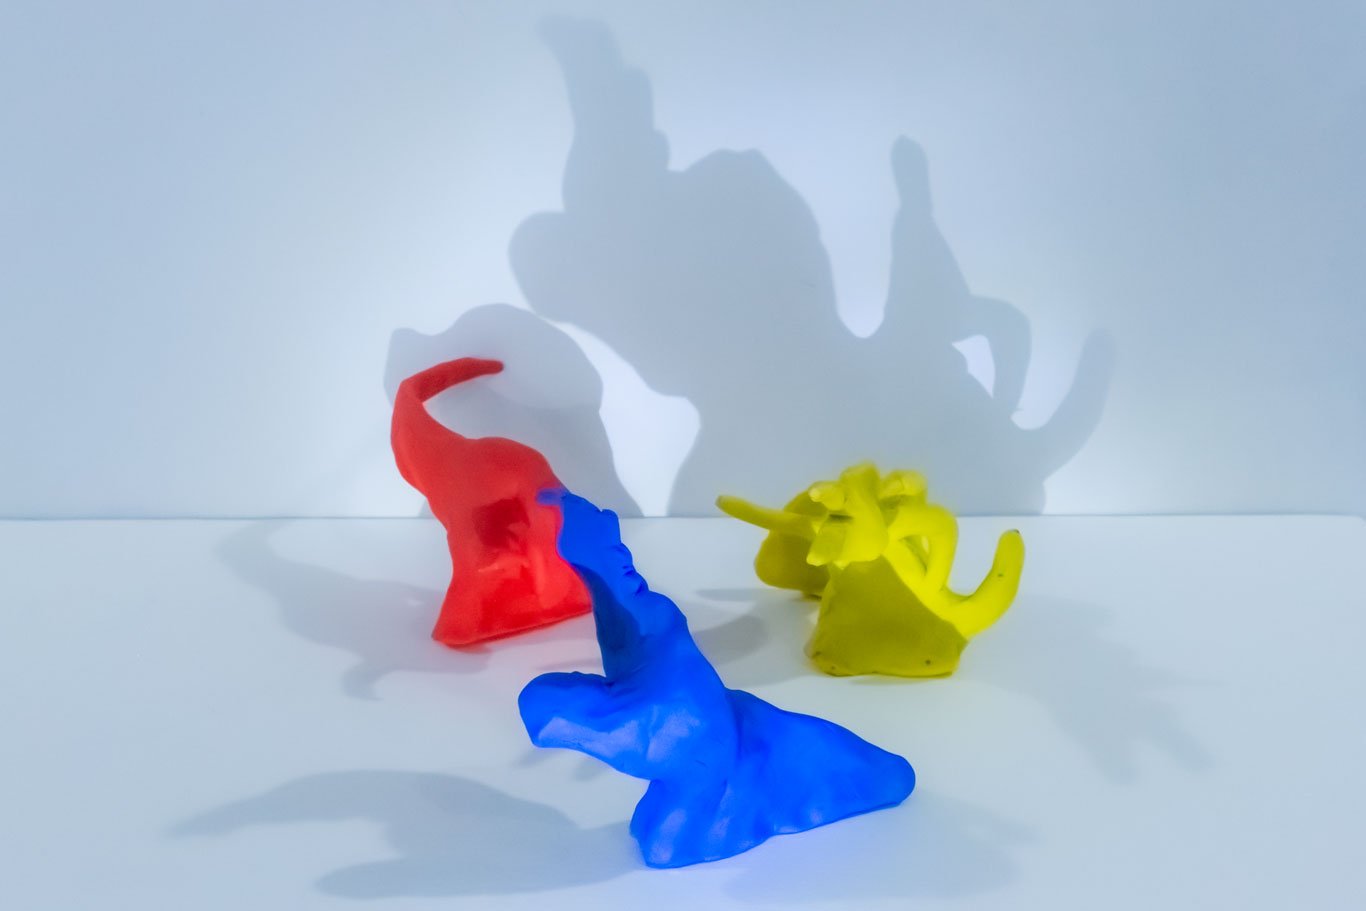
 - Line your sections up together a few inches away from a blank wall and shine your light on them.
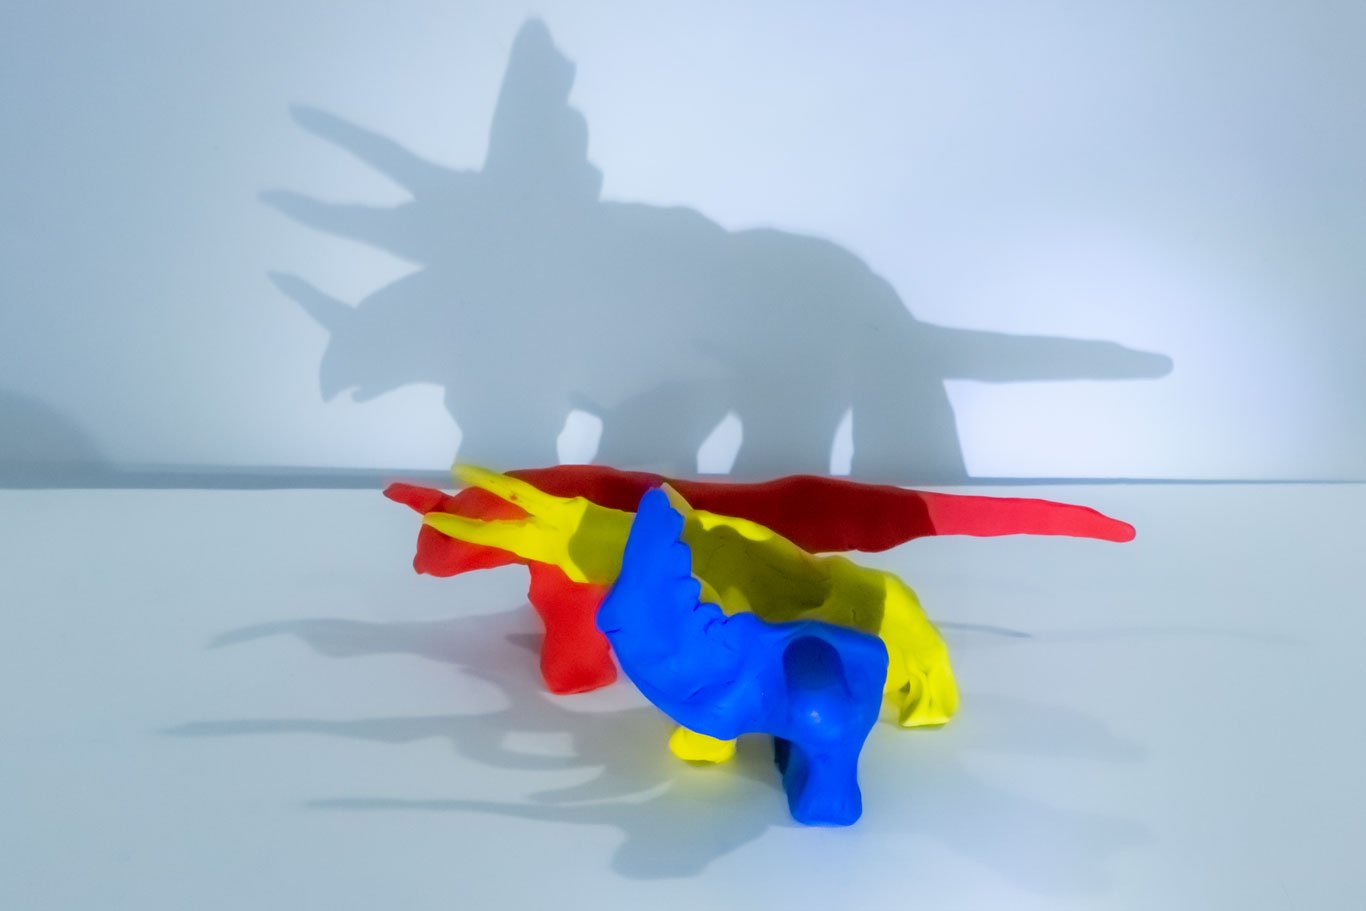 You want to line them up so the individual silhouettes add up to create the final silhouette in shadow on the wall. Most likely, it isn’t going to look right at first, so this is where you need to . . . .
 - Troubleshoot the shape, size, and position of your pieces.
You can make any adjustments that you need to. If a detail is too small, try moving the piece closer to the light. Or move it back if it is too large. You can add or remove clay as well. Also, you can try repositioning your light. Find the right combination of factors to make your shadow sculpture resemble the silhouette as much as possible. - Take a picture!
Personally, I’d love to see any shadow sculptures that you create – and we might even share them with the world! - Keep experimenting!
 Here is another image. This one was made by my friend. You can find many amazing examples of shadow sculptures online. For example, these or these!
MORE RESOURCES:
- 3 Groundhog Day Activities for Kids with STEM and Science Integration by Carly and Adam
- Groundhog Day Kids STEM Activity from Steam Powered Family
- Groundhog Day STEM Activities for kids – (Free Printable) from Little Bins for Little Hands
TOPICS: IN THE CLASSROOM, Middle School, Elementary School, IDEAS & INSPIRATION, Homeschool, Science, STEM, Activities, Hands-on Learning, STEAM